Changing the resolution of a picture can seem tricky at first, especially if you want to keep the image clear and detailed. Many people wonder how to change the resolution of a picture without making it blurry or losing important details. Whether you’re preparing images for social media, websites, or printing, understanding the basics of image resolution is essential.
What Does Image Resolution Mean and Why It Matters
What Is Image Resolution in Simple Terms
Image resolution refers to the amount of detail an image holds, usually measured in pixels. Higher resolution images contain more pixels, which makes them sharper and clearer, while lower resolution images can look pixelated or blurry when enlarged. Knowing this helps you make better decisions when you need to increase or decrease image resolution. For example, a small photo from your phone might look fine on your screen, but it could appear blurry when printed in a large frame. This is exactly when you might ask yourself how to change the resolution of a picture effectively.
How Resolution Affects Image Quality and Sharpness
The resolution of a picture directly impacts its clarity. Low-resolution images often lose important details, while high-resolution images preserve textures, lines, and colors. For instance, an old family photo scanned from the 1990s may look fuzzy on your computer. Learning how to change the resolution of a picture ensures you can restore these details without losing the original charm.
Common Situations Where You Need to Change Image Resolution
There are many scenarios where you might need to adjust image resolution: uploading a product photo to an e-commerce site, enlarging a screenshot for a presentation, or printing a personal photo for framing. Understanding these scenarios helps you decide when and how to change image resolution effectively.
When You Should Change the Resolution of a Picture
Knowing when to adjust image resolution is just as important as knowing how to do it. Many people struggle with blurry or pixelated photos, and understanding the right scenarios helps you decide when to take action. Here are some common situations where you might ask yourself how to change the resolution of a picture.
Low-Resolution Images for Social Media or Websites
If you upload images to social media or your website, low-resolution photos can appear blurry or unprofessional. Even if they look okay on your computer screen, platforms like Instagram, Facebook, or e-commerce sites compress images further, making the quality worse. Learning how to change the resolution of a picture ensures your posts remain sharp, eye-catching, and professional, which is especially important for brands or personal portfolios.

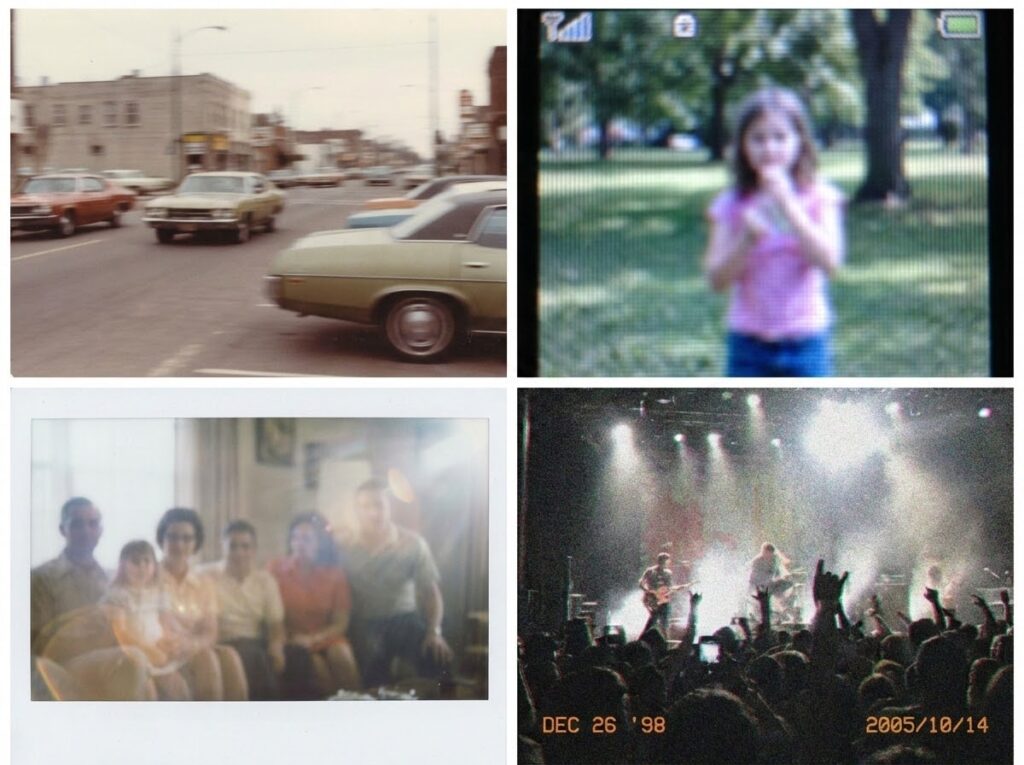
Blurry Photos from Old Cameras or Phones
Old cameras and early smartphones often produce low-resolution images. Over time, these photos can look fuzzy, especially when you try to enlarge them. Whether it’s a family photo from the 1990s or a vacation snapshot from an old phone, knowing how to change the resolution of a picture lets you restore clarity and make the memories look crisp again.
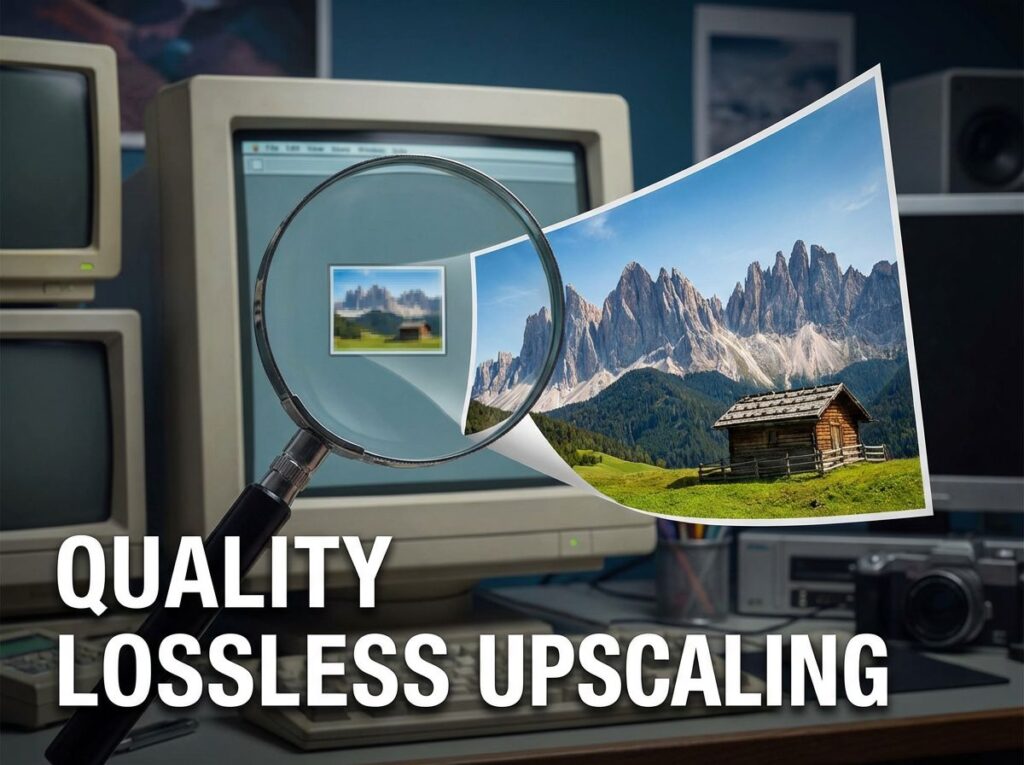
Small Images That Need to Be Enlarged Without Quality Loss
Sometimes you need to enlarge a small image for printing, presentations, or digital projects. Standard resizing can make the photo blurry or jagged, ruining important details. By understanding how to change the resolution of a picture, you can use tools that intelligently upscale images, preserving sharp edges, textures, and colors, so the enlarged image looks natural and professional.
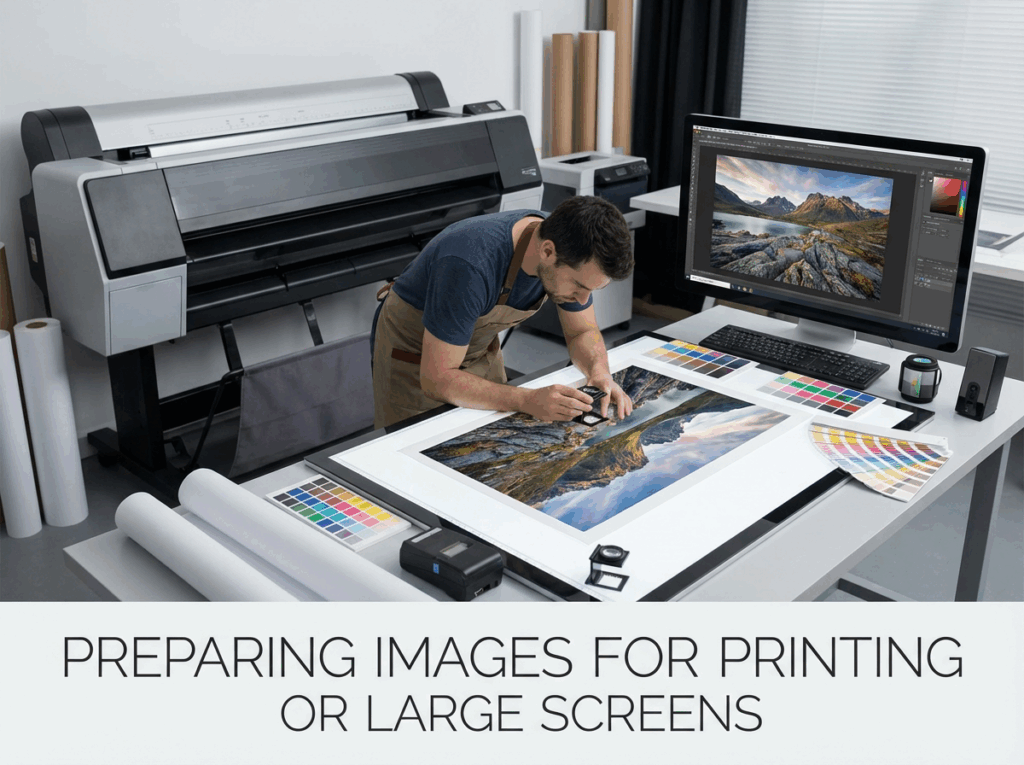
Preparing Images for Printing or Large Screens
Printing photos or displaying them on large monitors requires higher resolution than typical screen viewing. A low-resolution image might look fine on a phone, but when printed or projected on a big screen, it can appear pixelated. Knowing how to change the resolution of a picture before printing or presenting ensures your images are crisp, detailed, and visually appealing, whether it’s a personal photo, a poster, or marketing material.
How to Change the Resolution of a Picture Online
If you’ve ever wondered how to change the resolution of a picture without complicated software, online tools like ImageEnhancer’s 4K Image Upscaler make it fast and easy. You can transform low-resolution photos into crisp, high-quality images in just a few steps.
Step 1 – Open the 4K Image Upscaler Website
Start by visiting ImageEnhancer 4K Image Upscaler. The interface is simple and user-friendly, designed for anyone who wants to increase image resolution quickly. This is the first step for anyone looking to learn how to change the resolution of a picture online.
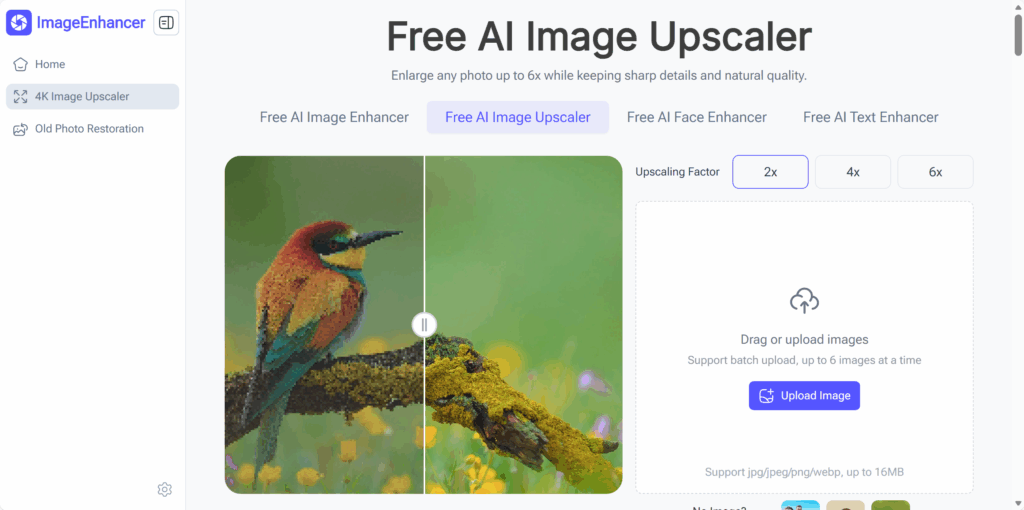
Step 2 – Choose the Upscale Factor
Next, select the resolution multiplier you need. The tool allows you to upscale your photo 2x, 4x, or even higher, depending on your requirements. Choosing the right factor is important to maintain clarity while increasing size. This step ensures you understand how to change the resolution of a picture without losing detail.

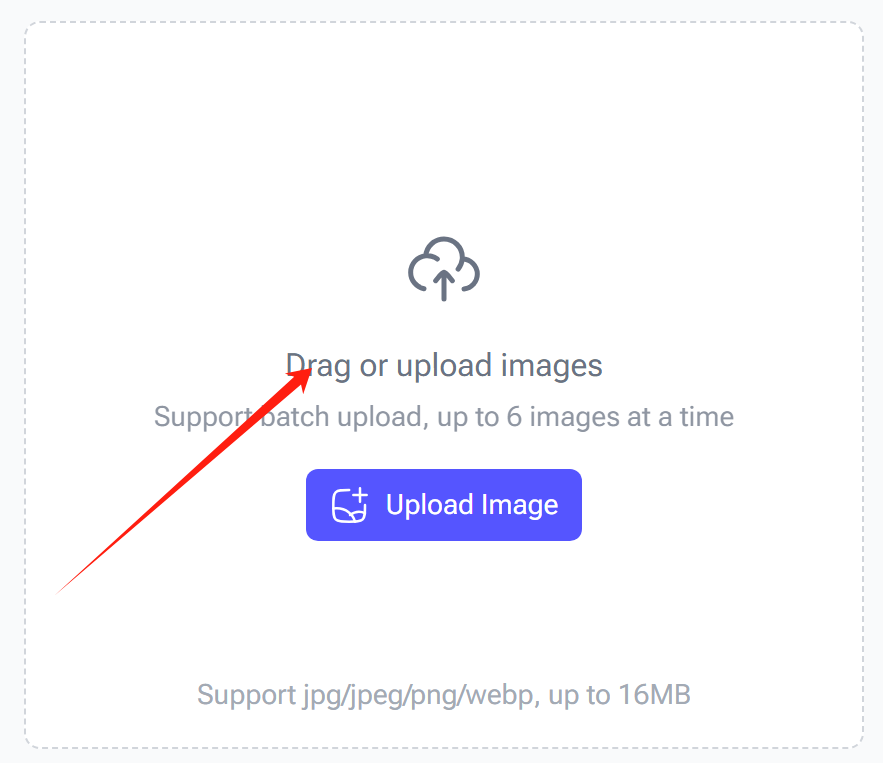
Step 3 – Upload Your Photo
Click the “Upload Image” button and select the photo you want to enhance. The tool supports JPEG and PNG formats. Uploading is fast, and the AI immediately prepares your image for processing. Whether it’s an old scanned photo, a smartphone picture, or a product image, this step begins the transformation to a sharper, higher-resolution version.
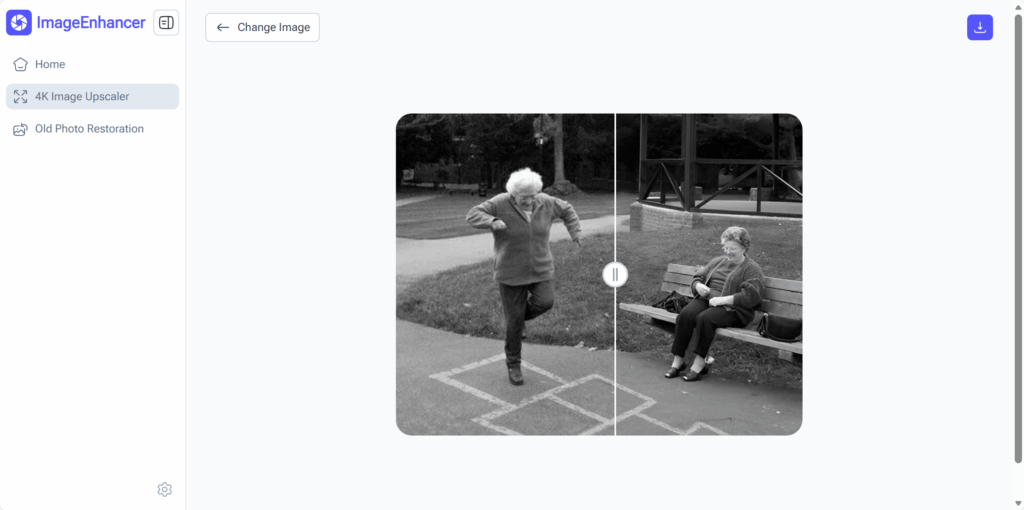
Step 4 – Generate and Preview the Image
Once uploaded, the AI generates the enhanced image. You can preview the results and compare it with the original. This preview allows you to see the improvements in clarity, texture, and detail, showing exactly how how to change the resolution of a picture affects the image quality.
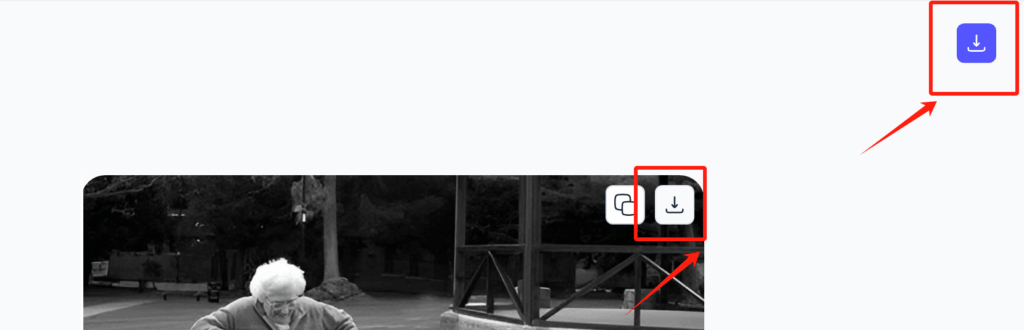
Step 5 – Download the High-Resolution Image
Finally, click “Download” to save your enhanced image. Now you have a crisp, high-resolution version ready for printing, social media, presentations, or any other use. The entire process is intuitive, fast, and ensures your images always look professional.
How to Change the Resolution of a Picture Without Losing Quality
Increasing image resolution can be tricky if you don’t know the right approach. Many people wonder how to change the resolution of a picture while keeping it sharp and clear. Understanding the difference between traditional resizing and modern AI upscaling is key.
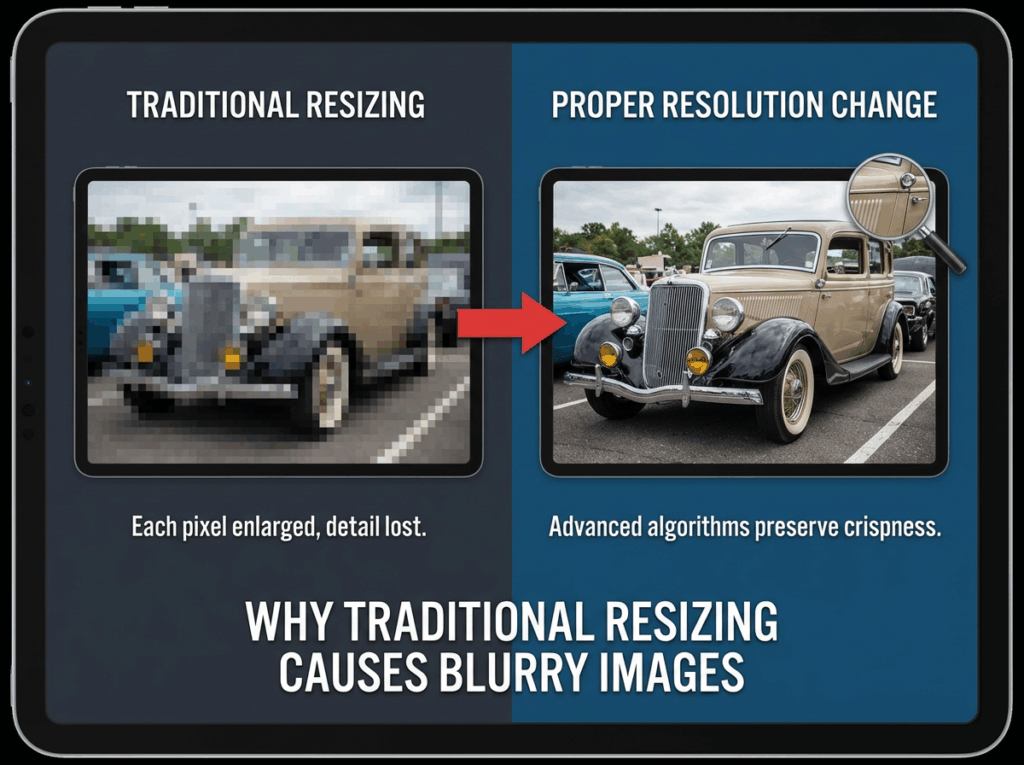
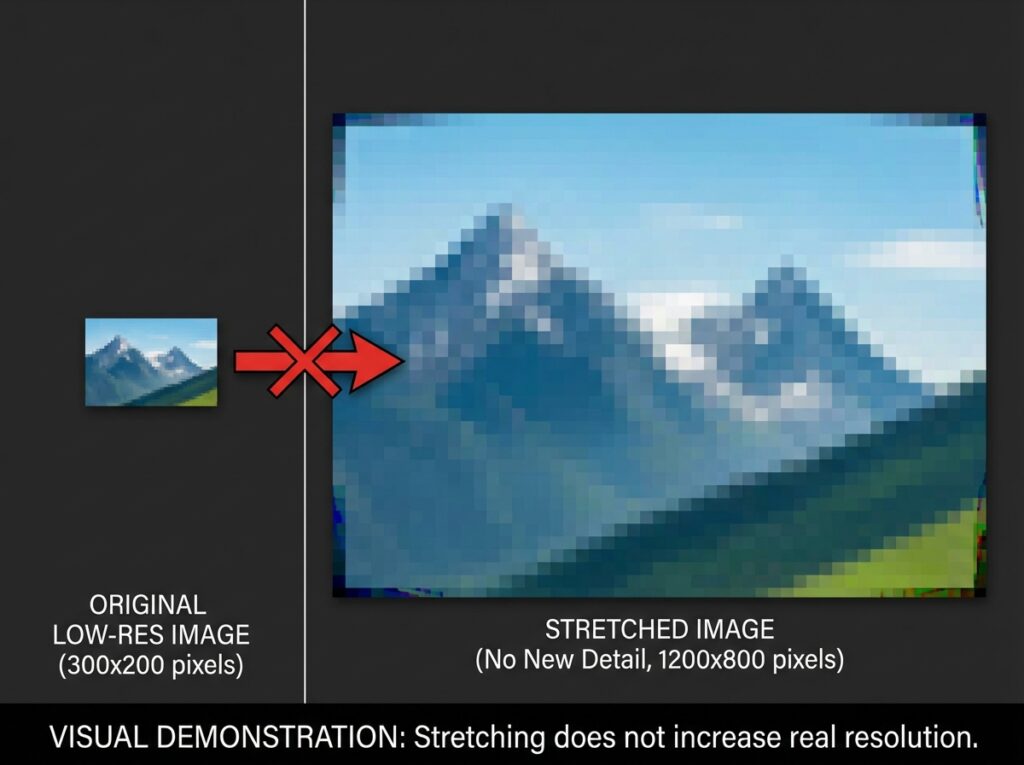
Why Traditional Resizing Often Causes Blurry Images
Traditional resizing methods, like simply stretching or enlarging a photo in basic software, usually result in blurry or pixelated images. Each pixel is simply enlarged, which reduces detail and smoothness. For instance, a small scanned photo or low-resolution product image can appear fuzzy when printed or displayed on large screens. This is why knowing how to change the resolution of a picture properly matters—you want the image to remain crisp and professional-looking, even when scaled up.
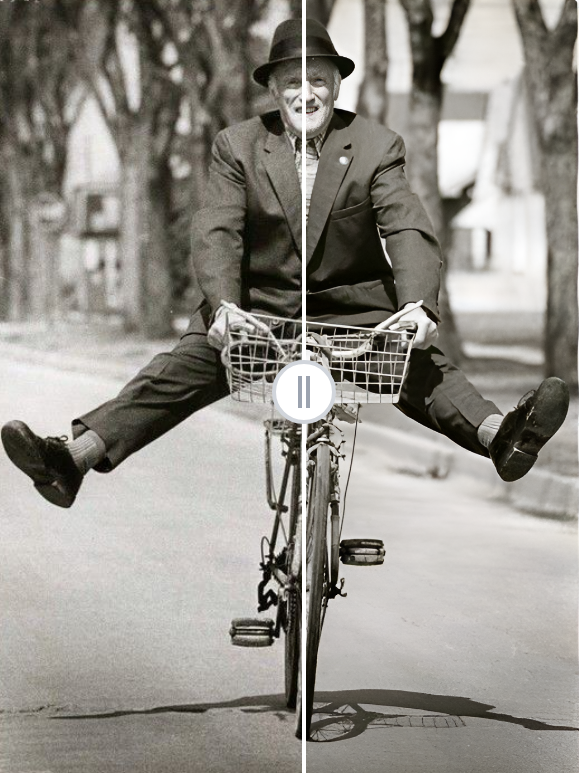
How AI Upscaling Preserves Details and Sharpness
AI-based tools, like ImageEnhancer 4K Image Upscaler, solve this problem by intelligently adding missing details. Instead of just stretching pixels, AI analyzes textures, edges, and patterns to recreate sharpness and depth. For example, an old family photo with subtle facial features can be enhanced so that faces, hair, and clothing appear natural and clear. Using AI to understand how to change the resolution of a picture ensures the final image looks detailed and realistic, even after significant enlargement.
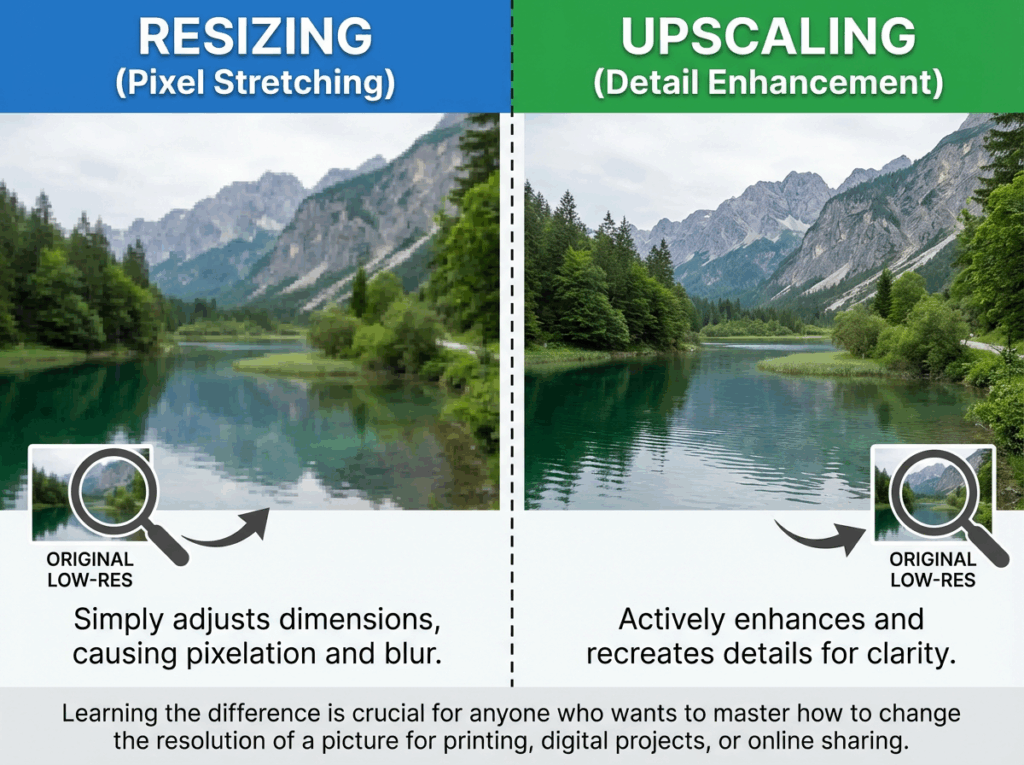
Difference Between Resizing and Upscaling Image Resolution
Resizing simply adjusts the pixel dimensions of an image without improving clarity. Upscaling, on the other hand, actively enhances the image, preserving details while increasing size. Imagine you have a low-resolution landscape photo. Resizing it makes the edges jagged, but upscaling recreates details in trees, water, and textures, producing a visually pleasing result. Learning the difference is crucial for anyone who wants to master how to change the resolution of a picture for printing, digital projects, or online sharing.
Using ImageEnhancer 4K Image Upscaler to Change Resolution
What Is ImageEnhancer 4K Image Upscaler
ImageEnhancer 4K Image Upscaler is an online tool that lets you increase photo resolution easily. If you’ve ever wondered how to change the resolution of a picture without losing quality, this tool simplifies the process with AI-powered technology.
How ImageEnhancer Increases Resolution Up to 4K
The tool can upscale images up to 4K, enhancing details, textures, and sharpness. It intelligently preserves faces, edges, and patterns, making your photo clearer and more professional.
What Types of Images Work Best with ImageEnhancer
Images like old photos, low-resolution screenshots, and product photos benefit most from AI upscaling. Any photo with visible details can be improved, ensuring you get a crisp final image.
Supported Formats and Image Size Limits
ImageEnhancer supports common formats such as JPEG and PNG. It also handles various image sizes, making it easy to upscale personal photos, marketing images, or scanned pictures.
Common Mistakes When Changing Image Resolution
When trying to increase image size, many people make avoidable mistakes. Understanding these common pitfalls can help you achieve better results and know how to change the resolution of a picture correctly.
Stretching Images Without Increasing Real Resolution
Simply stretching a photo in basic software enlarges pixels but doesn’t add detail. The image may look blurry or pixelated. Tools like ImageEnhancer avoid this by intelligently upscaling, keeping your image clear.
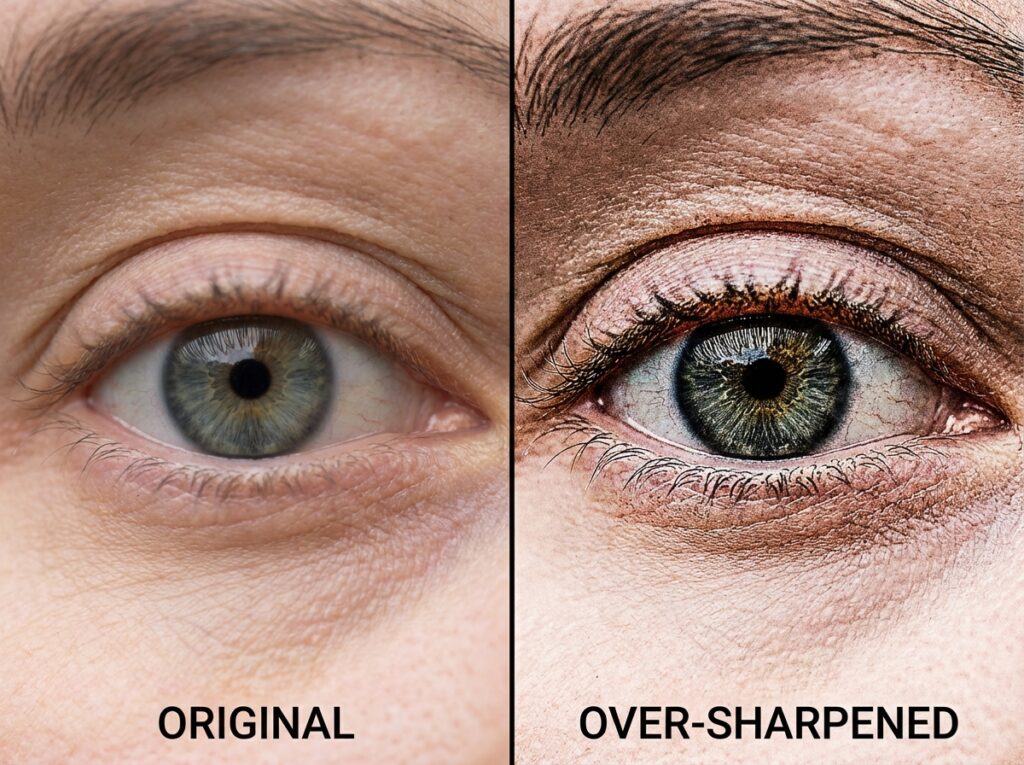
Over-Sharpening and Losing Natural Details
Over-sharpening can make edges look harsh and unnatural. When learning how to change the resolution of a picture, it’s important to preserve textures and natural details rather than forcing extreme sharpness.
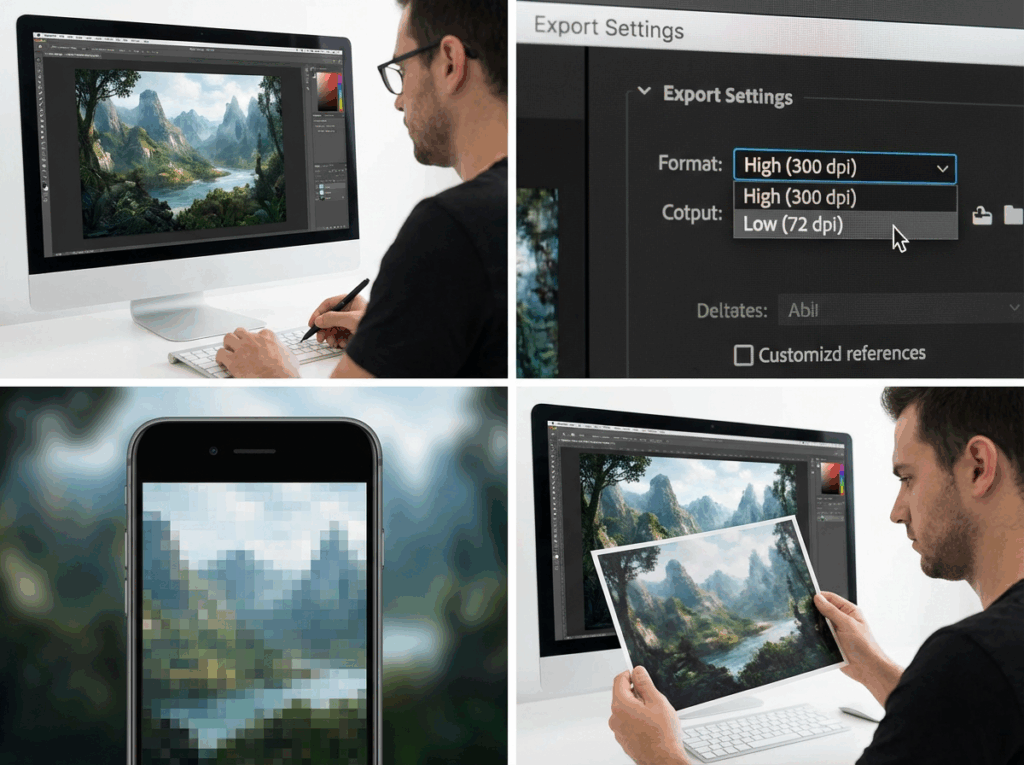
Choosing the Wrong Output Resolution
Selecting an output resolution that’s too high or too low can affect quality. Too high may create unnecessary artifacts; too low may fail to meet your needs. Picking the right resolution ensures your photo looks perfect for printing, social media, or presentations.
Ignoring Aspect Ratio and Image Proportions
Changing resolution without maintaining the original aspect ratio can distort your photo. Faces, objects, or landscapes may look stretched. Proper tools like ImageEnhancer maintain proportions while enhancing resolution, showing you exactly how to change the resolution of a picture without distortion.
Tips for Better Results When Changing Image Resolution
Increasing image resolution can be easy, but following some best practices ensures your photos look their best. These tips will help you confidently manage your images and know exactly how to change the resolution of a picture for different scenarios.
Use AI-Powered Tools Like ImageEnhancer
Instead of relying on basic software, use AI-based tools like ImageEnhancer 4K Image Upscaler. These tools automatically preserve details, textures, and sharpness while enlarging images. Whether you’re working with old family photos, product images, or digital art, AI helps you achieve professional-quality results without manual editing.
Start With the Highest Quality Source Image
Even the best upscaling tool can only do so much. If your original photo is extremely blurry or compressed, improvements will be limited. Start with the clearest version available, so when you learn how to change the resolution of a picture, you get the best final result.
Maintain the Aspect Ratio
Always keep your image’s original proportions. Changing resolution without preserving the aspect ratio can stretch or distort objects and people. Tools like ImageEnhancer automatically maintain proportions, ensuring that your images stay natural and professional-looking.
Preview Before Downloading
Most online upscalers provide a preview feature. Take advantage of it to compare the enhanced image with the original. Checking the preview allows you to adjust settings if needed and ensures you know exactly how to change the resolution of a picture while keeping the desired quality.
Don’t Overdo Upscaling
Upscaling too much in one step may introduce artifacts or unnatural textures. If you need very high resolution, consider multiple moderate steps or a tool that intelligently handles large increases. This preserves detail and creates a clean, sharp image suitable for printing, presentations, or online sharing.
Conclusion: The Easiest Way to Change the Resolution of a Picture
Increasing the resolution of a photo doesn’t have to be complicated or time-consuming. By understanding how to change the resolution of a picture correctly, you can avoid blurry images, preserve details, and make your photos look professional.
Online tools like ImageEnhancer 4K Image Upscaler simplify the entire process. You can upload your photo, select the desired resolution, preview the results, and download a high-quality, crisp image in just a few clicks. Whether you’re enhancing old family pictures, enlarging product photos for your website, or preparing images for printing, this tool ensures excellent results every time.
Remember, the key points to keep in mind when learning how to change the resolution of a picture include using AI-powered upscaling, starting with the best source image, maintaining aspect ratios, and previewing changes before finalizing. Following these practices guarantees your images stay clear, sharp, and ready for any use.
With these tips and the right tools, changing image resolution becomes effortless, and you’ll always know exactly how to change the resolution of a picture without compromising quality.